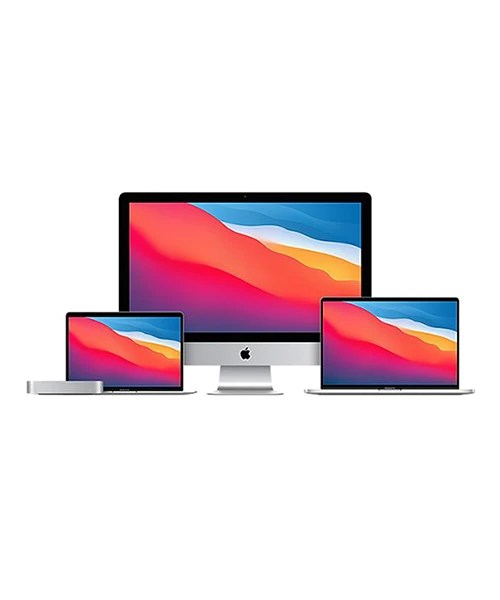
Whether you’re trading in your old MacBook, selling it to a friend or taking it to a tech recycling centre it’s important to make sure you erase your data correctly before selling it. Removing all your data ensures no one can steal your information, it’s likely you’ll have put everything onto your laptop including card details, personal information and potentially even business information if you use your device when working from home.
The steps you need to take to prepare your Mac for a new owner are easy. These steps will ensure your device is set back to its original factory settings.
Here are the steps for Mac models with the Apple T2 Security Chip.
1.If you used Boot Camp to install Microsoft Windows, use Boot Camp to remove Windows and its partition before continuing. Otherwise, you’ll see a message explaining that other volumes need to be erased before you can erase all content and settings on this Mac.
2. From the Apple menu in the corner of your screen, choose System Preferences.
3. From the System Preferences menu in the menu bar, choose to Erase All Content and Settings.
4. Erase Assistant opens and asks you to sign in with your administrator credentials. Enter the password you use to log in to your Mac, then click OK.
5. If you’re asked to back up your Mac before resetting it, you can open Time Machine and back up to an external storage device. Or click Continue to proceed without making a new backup.
6. Click Continue to allow your settings, media, data and the other listed items to be removed.
7. If you’re asked to sign out of Apple ID, enter your Apple ID password and click Continue.
8. Click Erase All Content & Settings to confirm that you want to proceed.
9. Your Mac restarts and shows a black screen or progress bar. If it needs to reconnect to a Bluetooth accessory, such as a keyboard or mouse, you may be asked to turn on the accessory. If the accessory doesn’t connect within 30 seconds, turn the accessory off and back on. When reconnecting to a Bluetooth keyboard, you’re asked to choose a language.
10. You may be asked to select a Wi-Fi network or attach a network cable. To select a Wi-Fi network, use the Wi-Fi menu in the top right-hand corner of the screen.
11. After joining a network, your Mac activates. Click Restart.
12. After restart, a setup assistant guides you through the setup process, as if you’re setting up your Mac for the first time.
If you do not have a Mac with the Apple T2 Security Chip follow these steps:
1.Back up or transfer your files
Use an external storage device to back up your files, or use Migration Assistant to move your files to your new Mac.
2. Sign out of iTunes
If you’re using macOS Catalina or later, you can skip this step.
Open iTunes. From the menu bar at the top of the screen or the iTunes window, choose:
Account > Authorisations > Deauthorise This Computer.
Then enter your Apple ID and password and click Deauthorise.
3. Sign out of iCloud
If you’re using macOS Catalina or later, choose Apple menu > System Preferences, then click Apple ID. Select Overview in the sidebar, then click Sign Out.
If you’re using an earlier version of macOS, choose Apple menu > System Preferences, click iCloud, then click Sign Out.
You will be asked whether you want to keep a copy of your iCloud data on this Mac. You can keep a copy, because you’re erasing your Mac later. Your iCloud data remains in iCloud and on any other devices that are signed in to iCloud with your Apple ID.
4. Sign out of iMessage
Open the Messages app, then choose Messages > Preferences from the menu bar. Click iMessage, then click Sign Out.
5. Optional: Unpair Bluetooth devices that you’re planning to keep
If your Mac has been paired with a Bluetooth keyboard, mouse, trackpad or other device that you’re planning to keep, you can unpair it. This optional step prevents any accidental input when the Mac and device have separate owners but remain within Bluetooth range. If you do this on a Mac that doesn’t have a built-in keyboard or trackpad, you will need to plug in a USB keyboard and mouse to complete the remaining steps.
To unpair a Bluetooth device, choose:
Apple menu > System Preferences, then click Bluetooth. Move your pointer over the device you want to unpair, then click the remove (x) button next to the device name.
6. Erase your Mac and reinstall macOS
After the macOS installation has been completed, your Mac will restart to a setup assistant. Press Command-Q to shut down instead of continuing the setup process.
7. Reset NVRAM and shut down
Turn on your Mac and immediately press and hold these four keys together: Option, Command, P and R. Release the keys after about 20 seconds. This will clear user settings from the memory and restore certain security features that may have been altered previously.
After resetting NVRAM, your Mac will start up to the setup assistant again. To leave the Mac in an out-of-box state, press Command-Q to shut down instead of continuing setup.
These are the recommended steps from Apple in order to prepare your Mac for its new home. If you are looking to trade in an old device you can get an instant quote from The iOutlet and you can use the higher value credit option if you’re looking to upgrade your device, all Apple products from MacBooks to iPhones are available.


